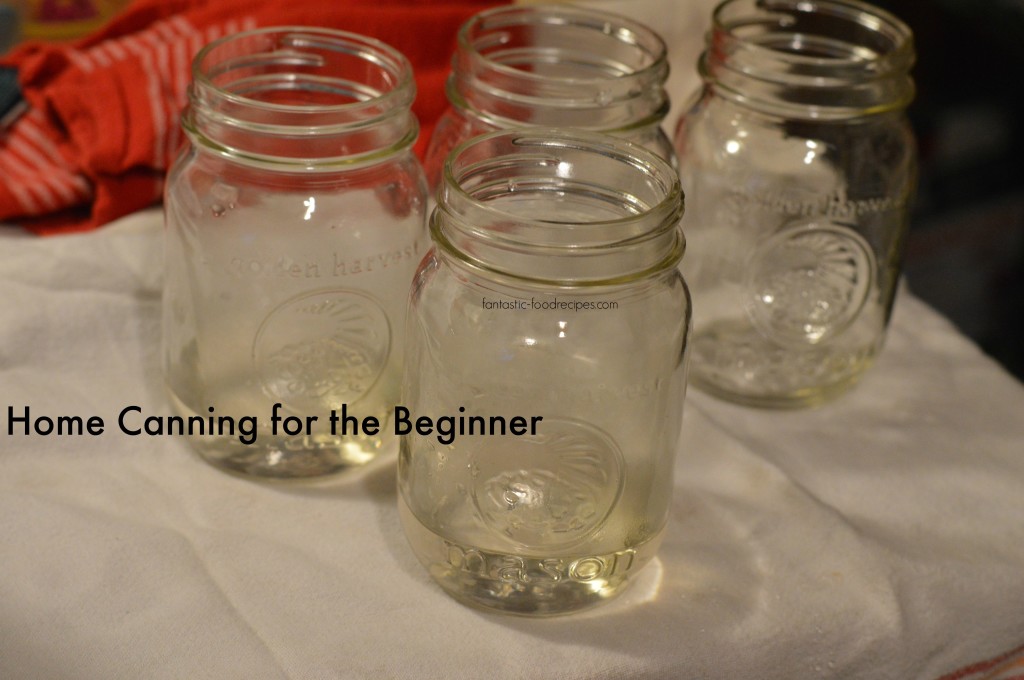
Home canning can be an overwhelming process for a beginner. There are several methods and many, many recipes available and sorting through the information can be a daunting process. Don’t worry, there is a method for nearly every skill level, so you can build up your confidence over time.
The purpose of canning is to destroy harmful bacteria that can cause food borne illness and spoilage. Recipes are prepared and held to a high temperature for a length of time that has been thoroughly tested by a trusted agency to kill bacteria. The time and temperature are determined by types of produce, altitude level, and the size of the filled jar.
Foods are classified into three main categories. High acid foods include tomatoes, pickles, and fruits, and low acid foods include vegetables, meats, and combination recipes. Each category requires a different canning method.
Types of Canning
The two main methods are water bath and pressure canning. Water bath canning is used for high acid foods. This is also sometimes referred to as boiling water canning. A water bath canner or large stockpot is filled with water, filled jars are placed inside, and the water is held at a boil for a specified amount of time.
Water bath canning can be done in a water bath canner or any large stockpot with lid. You can purchase a rack at most department stores that will fit inside and keep the jars from touching the edges. If you cannot find a rack to fit your pot, you can improvise by laying a dish towel in the bottom.
Pressure canning is used to can low acid foods. This type of canning must be done in a pressure canner. In order to kill the bacteria, low acid foods must be held at a temperature of 240°F. which cannot be achieved by boiling water, but must be reached with steam. A pressure canner holds steam at a high enough heat to kill bacteria.
Selecting a Recipe
Select a recipe from a trusted source in canning, such as the your local extension office or the Ball Blue Book.
I recommend beginning with a water bath canning recipe, such as pickles. These are very easy and quick to make and hard to mess up.
It is essential that you follow a recipe exactly as it’s written. Any changes might compromise the safety of the recipe. If you live at an altitude higher than 1,000 feet, you may need to make adjustments.
Preparing your Equipment
Use jars that have been specifically designed for canning, such as Ball or Mason. Before using, wash each jar thoroughly with mild soapy water and inspect for any damage. Any scratches, n icks, or chips will make a jar unsuitable to withstand the temperatures required for canning. Place the clean jars into a pot of simmering water to heat until ready to pack with your prepared recipe.

You must use a new lid each and every time you can. These have a sealing compound that cannot be reused. Rings can be reused until they begin to rust or tarnish. Wash each with mild soapy water before using.
Preparing Your Recipe and Canning
Prepare your recipe exactly as directed. Use a funnel to fill hot jars with prepared recipe. Wipe the rims of each jar clean with a damp cloth and affix a lid and ring.
Lower the jars into your canner and process as directed.
Remove the jars from the canner and allow to cool on a towel for 8-12 hours. Check the seals by pressing down on the center of each lid. The lid should be firm and not move. If it pops or moves at all, the jar did not process and should be refrigerated for immediate consumption.
The thought of canning can be overwhelming, but if you follow proper procedures, your family will safely enjoy garden fresh food all winter long!
If you like this post, see more DIY, recipes and tips on Pinterest.


Leave a Reply